GitHub
GitLab
Local Platform Installation
kubefirst is the name of our CLI that installs the platform of the same name to your local or cloud environment.
Prerequisites
Local Prerequisites
If you are on macOS, and have Homebrew installed, you can run:
brew install konstructio/taps/kubefirst
To upgrade an existing kubefirst CLI to the latest version run:
brew update
brew upgrade kubefirst
There are other ways to install kubefirst for different operating systems, architectures, and containerized environments. See our installation README for details.
Docker Desktop
Install Docker Desktop.
GitHub
Create or use an actual GitHub personal account
Install the CA (Certificate Authority) of mkcert in your trusted store
We use mkcert to generate local certificates and serve https with the Traefik Ingress Controller. During the installation, kubefirst generates these certificates and pushes them to Kubernetes as secrets to attach to Ingress resources.
To allow the applications running in your kubefirst platform in addition to your browser to trust the certificates generated by your kubefirst local install, you need to install the CA (Certificate Authority) of mkcert in your trusted store. To do so, follow these simple steps:
brew install mkcert
mkcert -install
This is not an optional step: the cluster creation will fail if you don't install the mkcert CA in your trusted store.
Create your new local cluster
To create a new kubefirst cluster locally, run
kubefirst k3d create
Details about your execution will be logged to your ~/.k1/logs directory. More information on kubefirst k3d, including optional flags, can be discovered by running kubefirst k3d help.
We are able to create an ephemeral GitHub token that expires after 8 hours using a process that will prompt your browser to request access to your account. If you need a quick environment, this is a frictionless approach. However, if you need this environment for longer than 8 hours, which is probably the case, please follow our GitHub Token Guide and export a more permanent token to your terminal by using the following command:
export GITHUB_TOKEN=ghp_xxxxxxxx
When Docker is provided 5 GB of memory and 5 CPUs, the local kubefirst platform will provision in about 6 minutes and deprovision in about 1 minute.
Installed Applications
To see what is installed by kubefirst, check the overview page.
After installation
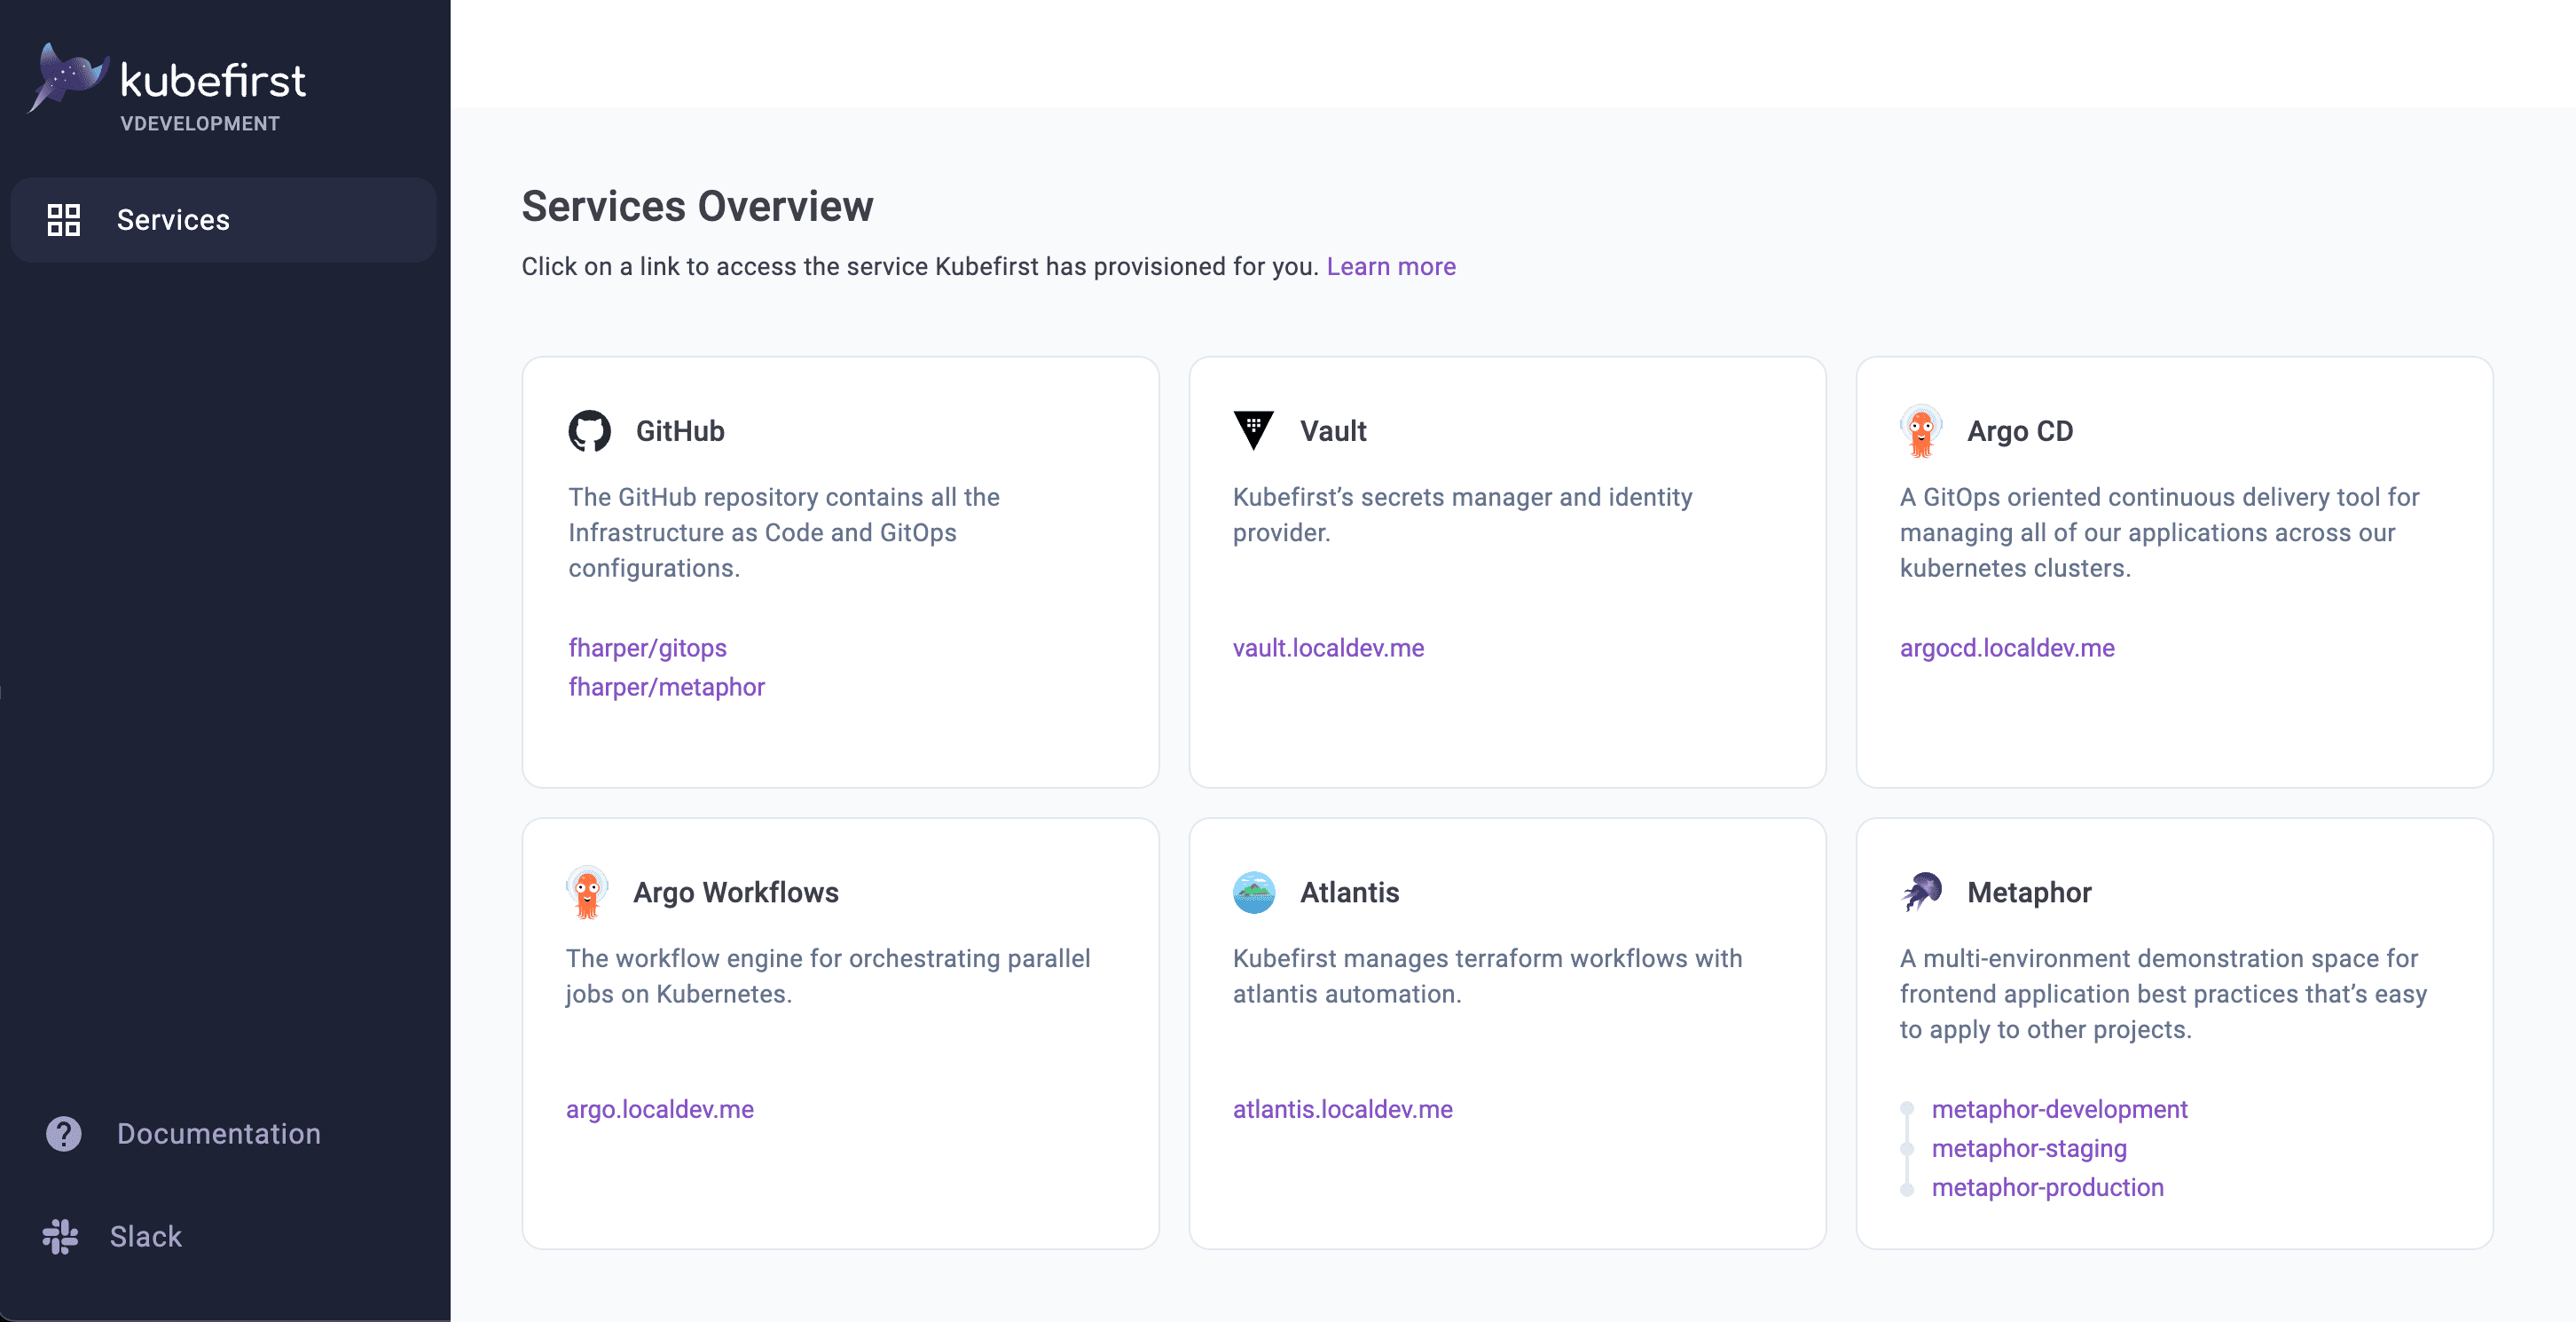
After the ~5 minute installation, your browser will open a new browser tab at completion with the Console UI at https://kubefirst.kubefirst.dev to provide you an easy way to navigate through the different services that were provisioned.
Console UI Screen

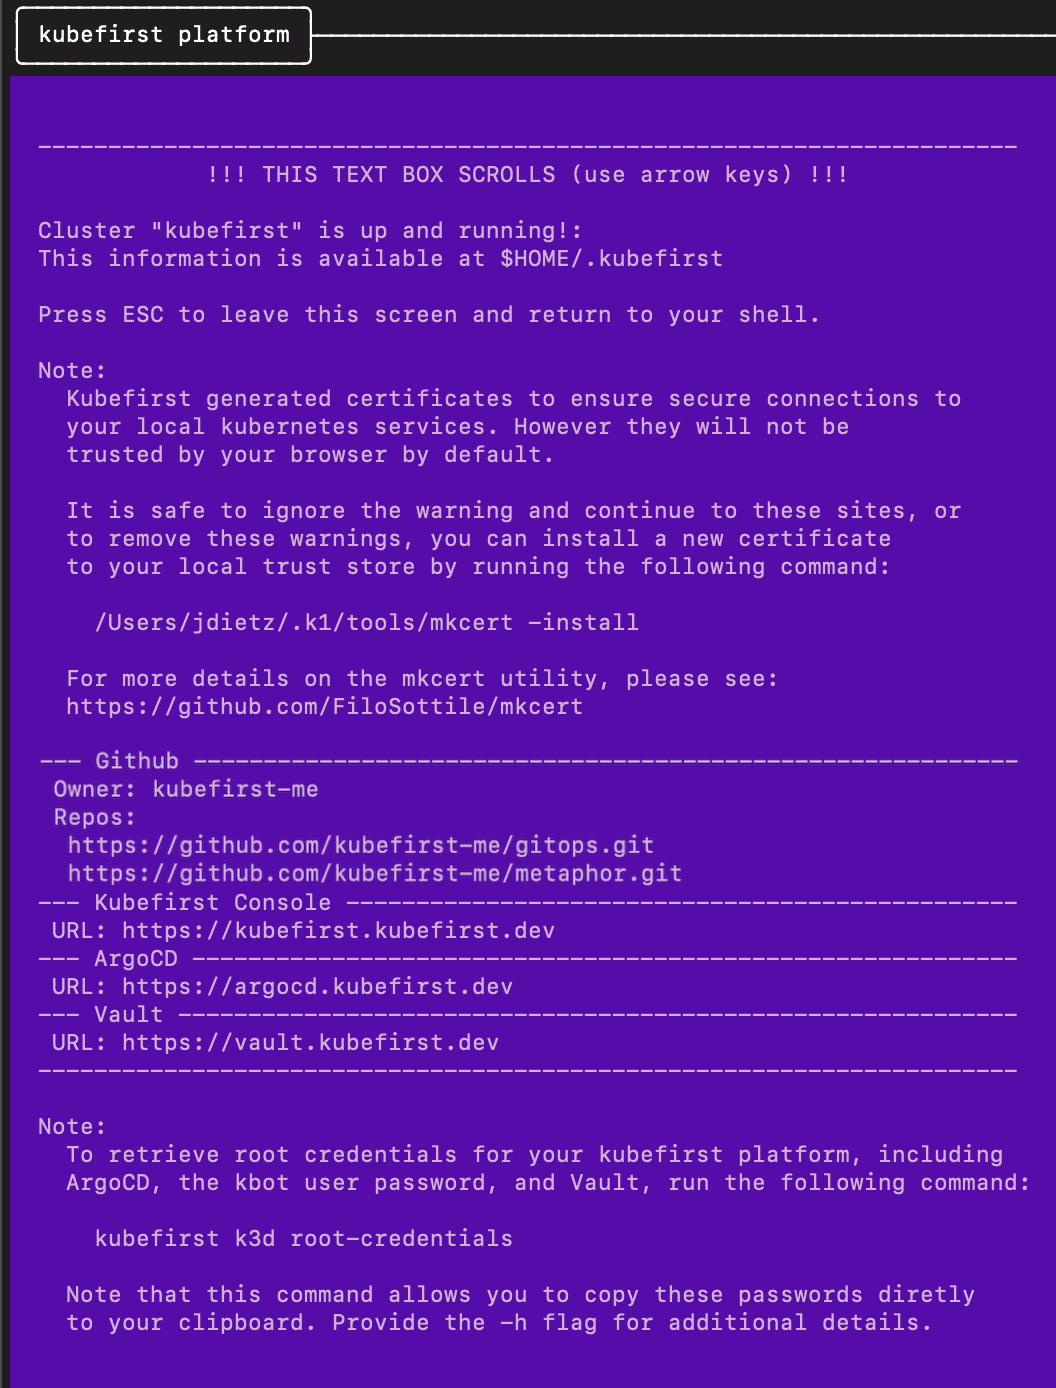
Example of terminal output following cluster creation

Root credentials
To obtain your 3 initial passwords, run
kubefirst k3d root-credentials
Connecting to Kubernetes
You will be automatically connected to your new Kubernetes cluster. To view all cluster pods, run
kubectl get pods -A
Local Platform Installation with GitLab
kubefirst is the name of our CLI that installs the platform of the same name to your local or cloud environment.


Prerequisites
Local Prerequisites
If you are on macOS, and have Homebrew installed, you can run:
brew install konstructio/taps/kubefirst
To upgrade an existing kubefirst CLI to the latest version run:
brew update
brew upgrade kubefirst
There are other ways to install kubefirst for different operating systems, architectures, and containerized environments. See our installation README for details.
Docker Desktop
Install Docker Desktop.
GitLab
- Create or use an existing GitLab account.
- Create a GitLab group developer permissions.
GitLab SaaS offering has limitations that require us to use groups contrary to GitHub which can be use without an organization.
Install the CA (Certificate Authority) of mkcert in your trusted store
We use mkcert to generate local certificates and serve https with the Traefik Ingress Controller. During the installation, kubefirst generates these certificates and pushes them to Kubernetes as secrets to attach to Ingress resources.
To allow the applications running in your kubefirst platform in addition to your browser to trust the certificates generated by your kubefirst local install, you need to install the CA (Certificate Authority) of mkcert in your trusted store. To do so, follow these simple steps:
brew install mkcert
mkcert -install
This is not an optional step: the cluster creation will fail if you don't install the mkcert CA in your trusted store. If you are using Firefox, you have one more step: you need to install the Network Security Services (NSS):
brew install nss
Create your new local cluster
To create a new kubefirst cluster locally, run
kubefirst k3d create \
  --git-provider gitlab \
  --gitlab-group your-group \
  --cluster-name kubefirst
Details about your execution will be logged to your ~/.k1/logs directory. More information on kubefirst k3d, including optional flags, can be discovered by running kubefirst k3d help.
We are able to create an ephemeral GitLab token that expires after 8 hours using a process that will prompt your browser to request access to your account. If you need a quick environment, this is a frictionless approach. However, if you need this environment for longer than 8 hours, which is probably the case, please follow our GitHub Token Guide and export a more permanent token to your terminal by using the following command:
export GITLAB_TOKEN=gl_xxxxxxxx
When Docker is provided 5 GB of memory and 5 CPUs, the local kubefirst platform will provision in about 6 minutes and deprovision in about 1 minute.
Installed Applications
To see what is installed by kubefirst, check the overview page.
After installation
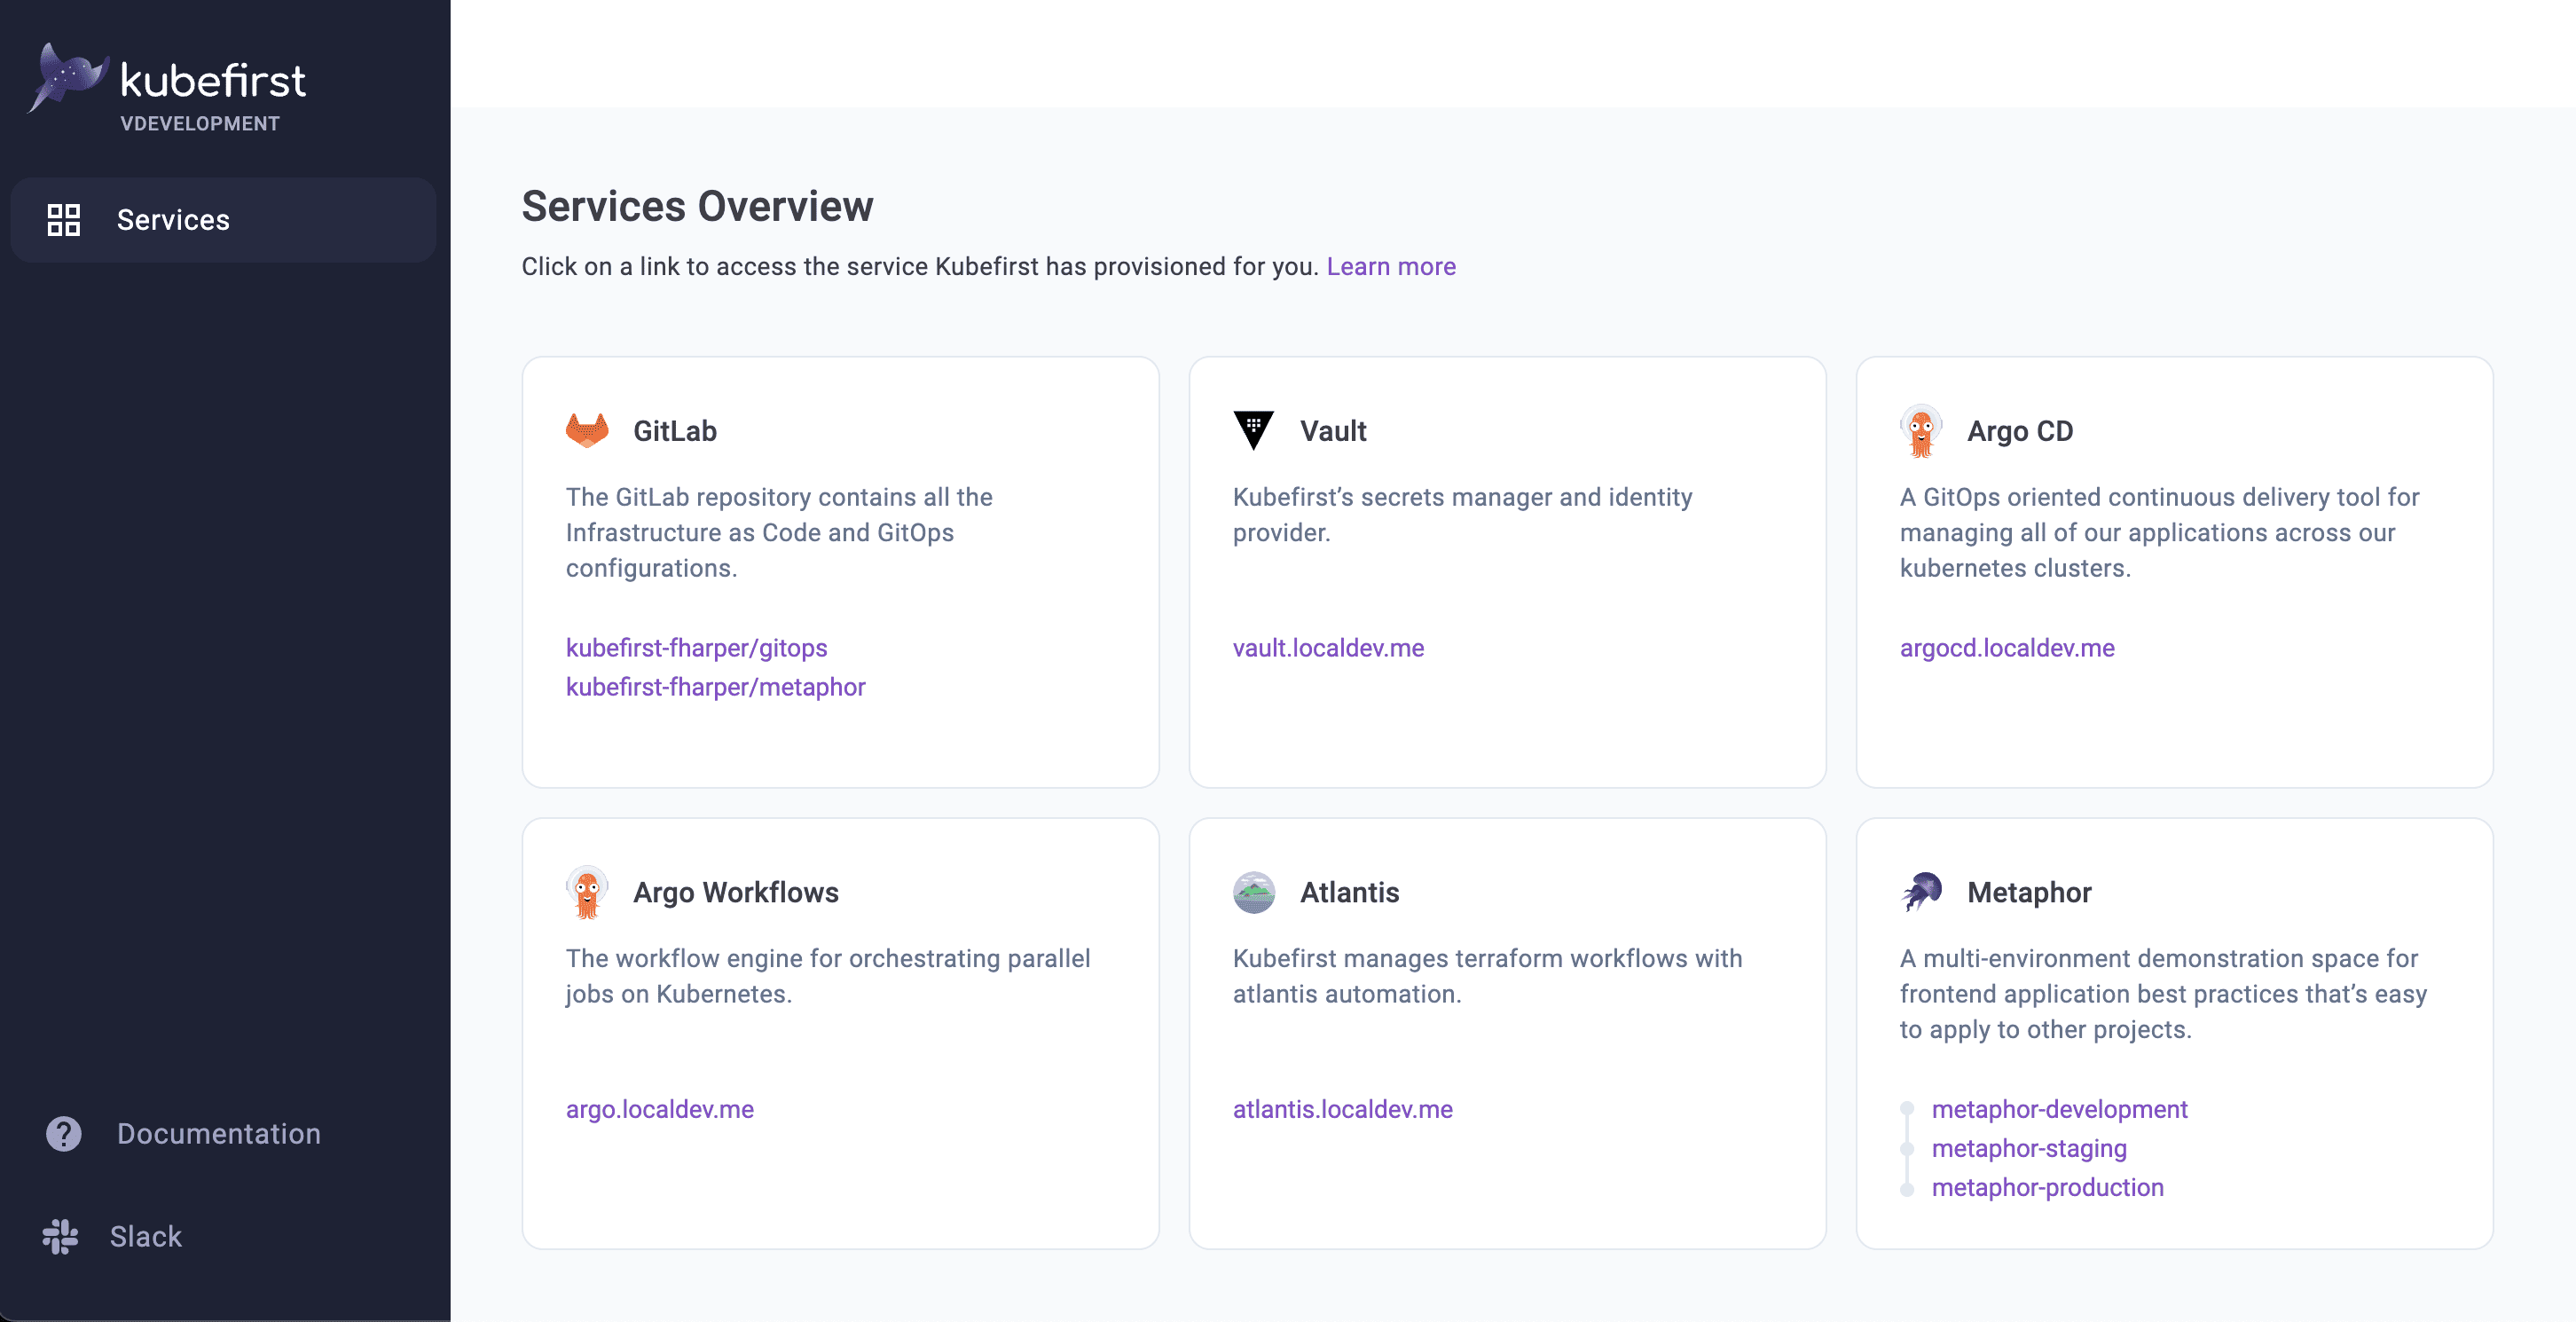
After the ~5 minute installation, your browser will open a new browser tab at completion with the Console UI at https://kubefirst.kubefirst.dev to provide you an easy way to navigate through the different services that were provisioned.
Console UI Screen

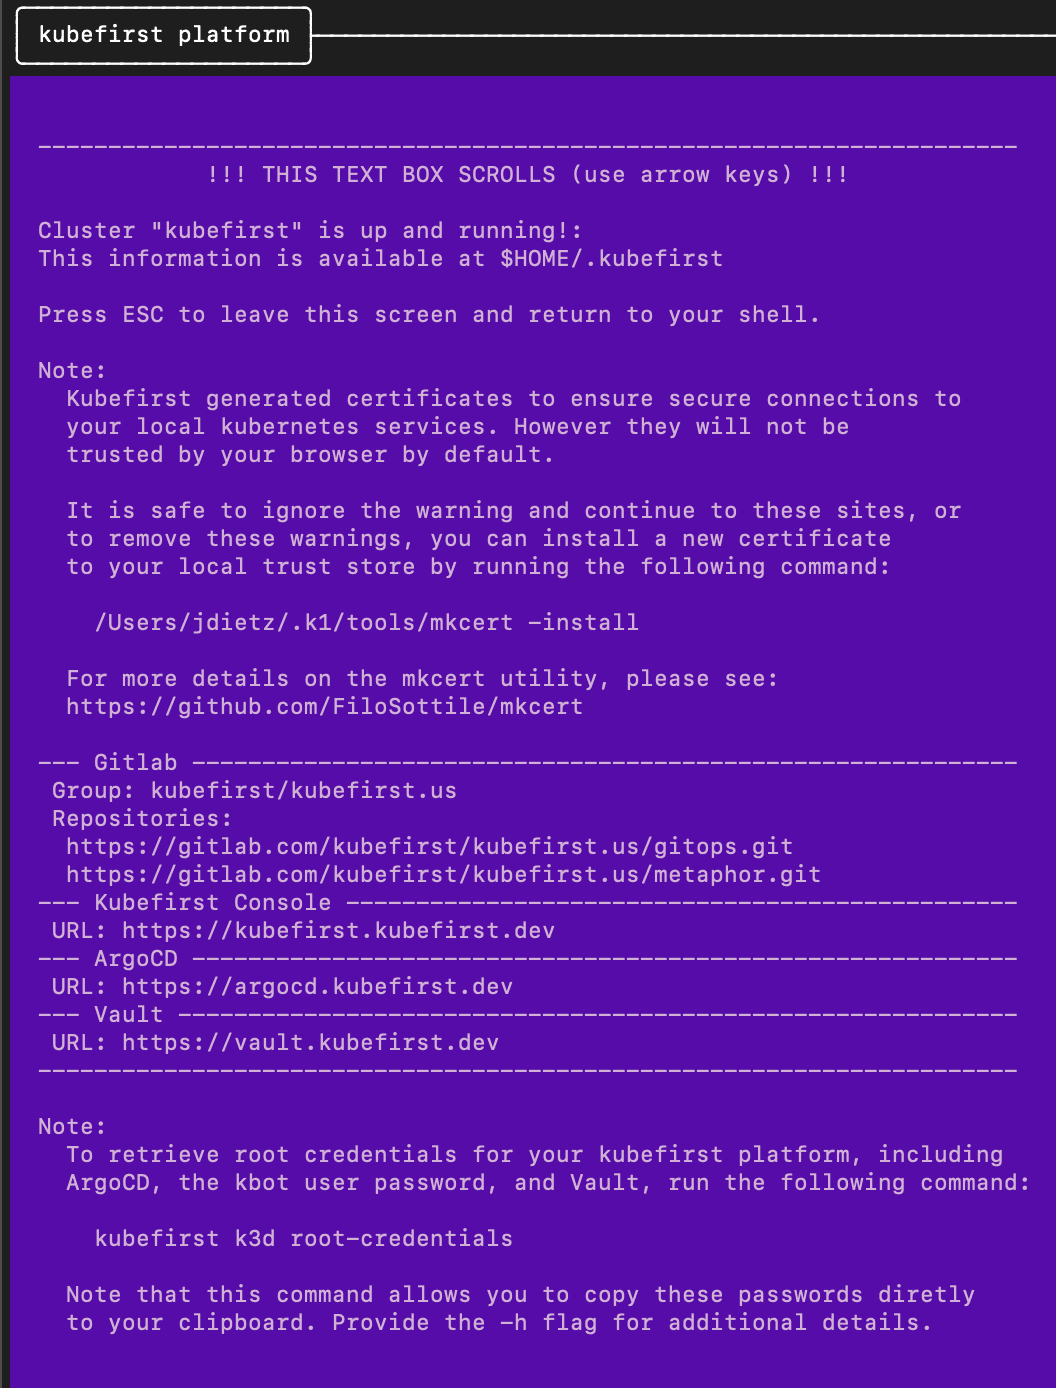
Example of terminal output following cluster creation

Root credentials
To obtain your 3 initial passwords, run
kubefirst k3d root-credentials
Connecting to Kubernetes
You will be automatically connected to your new Kubernetes cluster. To view all cluster pods, run
kubectl get pods -A
 Please change your Homebrew tap by running