Install Kubefirst using the DigitalOcean Marketplace
You can create a temporary Kubefirst installer cluster through the DigitalOcean Marketplace, and use it to create your Kubefirst management cluster.
Create your installer cluster

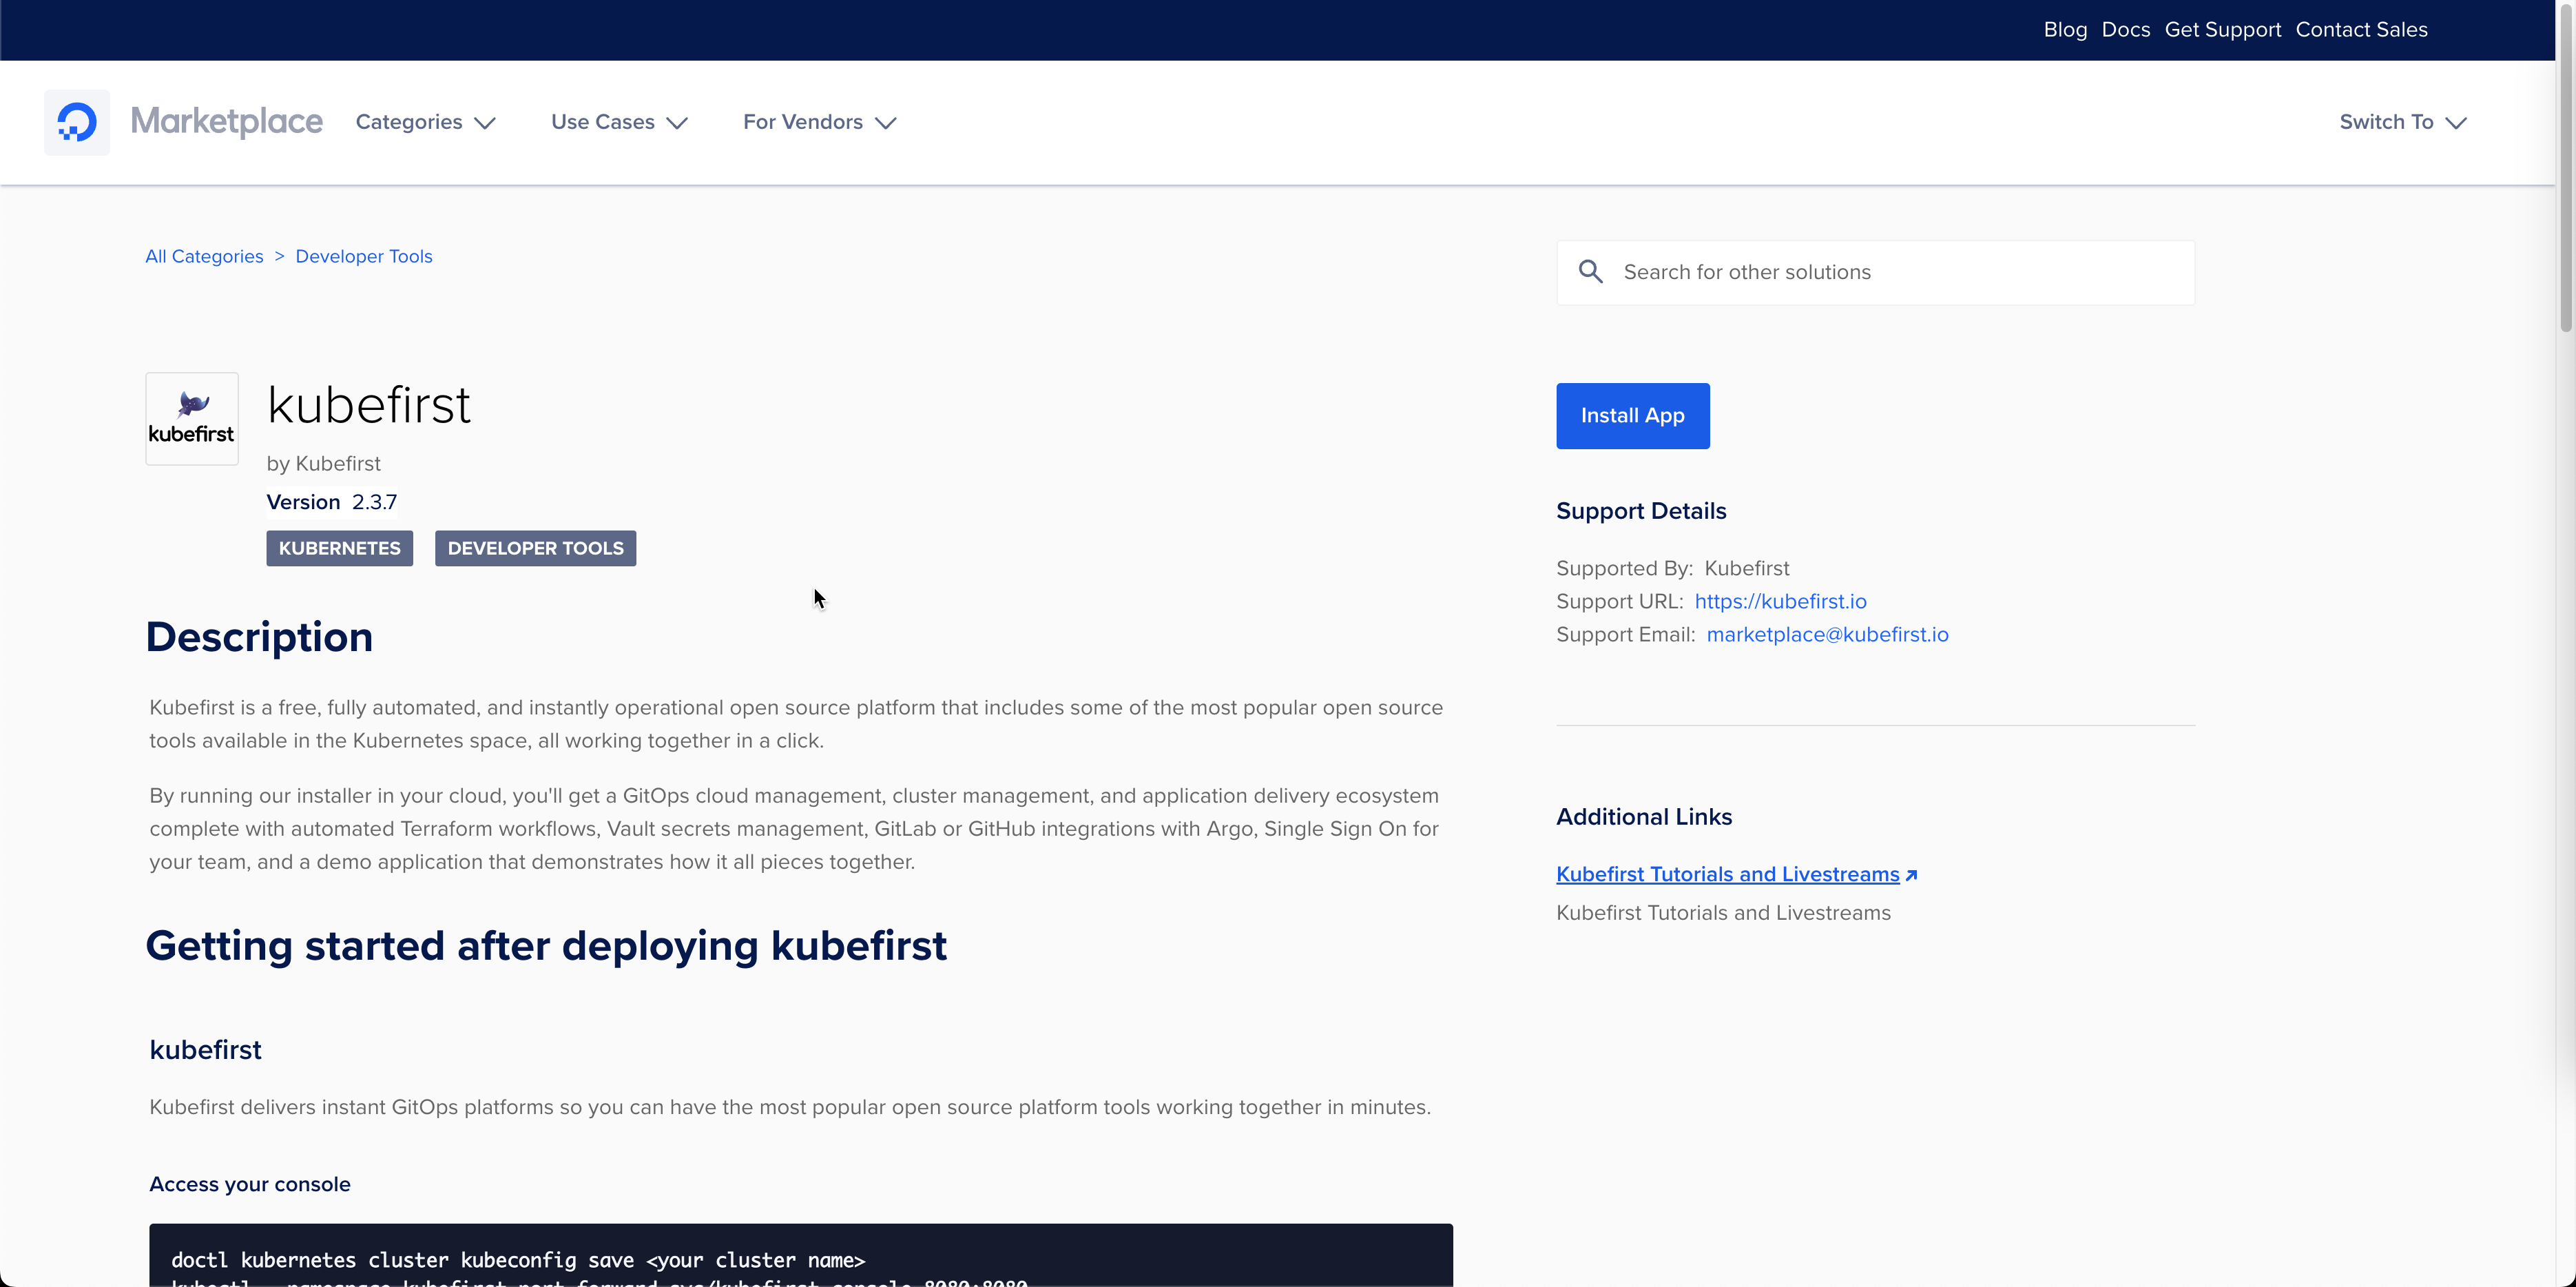
Log into your DigitalOcean account and navigate to the Kubefirst Marketplace page.
- Click "Install App", it will open a new tab.
- On the new tab, click "Install".
- Choose the data center region. It doesn't matter much as this cluster will be use to install Kubefirst.
- Lower the nodes plan to
2 GB RAM / 1 vCPU / 50 GB Disk - Reduce the nodes count to
2 - Name the cluster
installer - Click "Create Cluster" and wait until the cluster is ready
Connect to the install cluster and the Kubefirst installer service
In your terminal, run the following commands to download and use your new cluster's kubeconfig. This example assumes you named your cluster installer.
doctl kubernetes cluster kubeconfig save installer
kubectl --namespace kubefirst port-forward svc/kubefirst-console 8080:8080
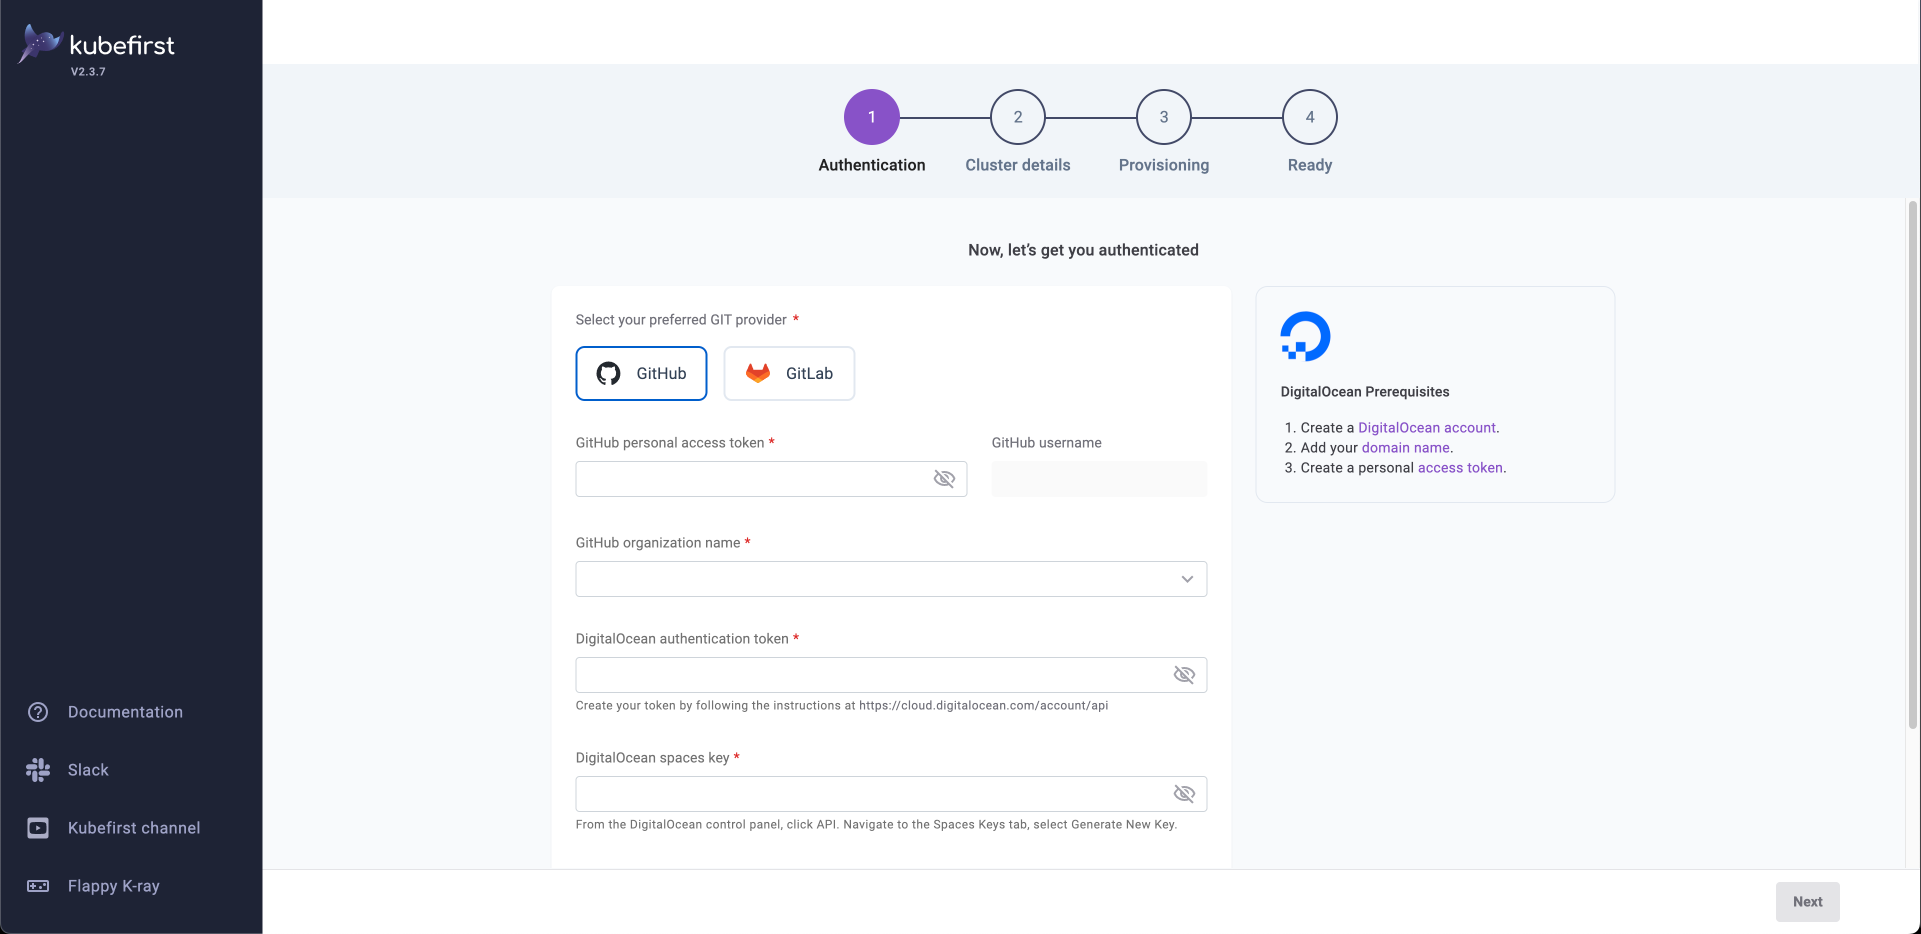
Then launch the installer in your browser:
Create your Kubefirst management cluster
Provide details about your preferred Git provider, access, and cluster details and let Kubefirst do the rest.

Deleting your installer cluster
Once you've successfully installed your Kubefirst management cluster, you can delete the installer cluster directly in the DigitalOcean UI. It is only used to establish the platform.
 Please change your Homebrew tap by running