User Creation
- GitHub
- GitLab
In this tutorial we will show how to add users to your local cluster through Atlantis, which will allow a preview of how changes made will be expressed through Terraform before branches are merged into your repository.
Navigate to the gitops repository in your personal GitHub account, clone the contents, and create a new branch:
cd gitops
git checkout -b new-user
The folder k3d-github/terraform/users/admins contains two separate files that represent admin users: admin-one.tf (commented-out), and the kubefirst_bot user. Here's the module from admin-one.tf:
module "admin_one" {
  source = "./modules/user/github"

  acl_policies            = ["admin"]
  email                   = "[email protected]"
  first_name              = "Admin"
  github_username         = "admin_one_github_username"
  last_name               = "One"
  username                = "aone"
  user_disabled           = false
  userpass_accessor       = data.vault_auth_backend.userpass.accessor
}
Uncomment and edit this code to replace the values for the email, first_name, github_username, last_name, and username.
Then at the top of the same file terraform/users/admins/admin-one.tf. You should see one line of code commented with the admin_one user, please uncomment this line to look as follows:
resource "vault_identity_group_member_entity_ids" "admins_membership" {
  member_entity_ids = [
    module.kbot.vault_identity_entity_id
    , module.admin_one.vault_identity_entity_id # <- this line used to be commented
  ]

  group_id = data.vault_identity_group.admins.group_id
}
git add .
git commit -m feat: add new user
git push --set-upstream origin new-user
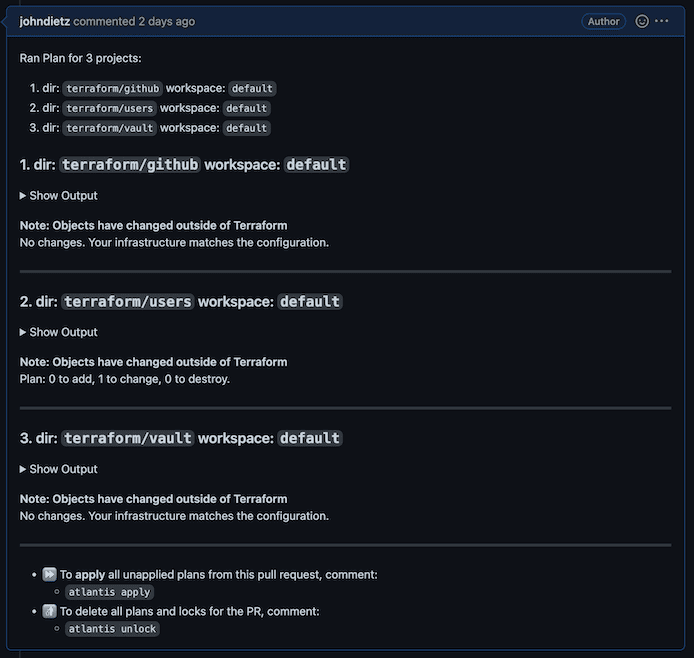
Now, create a pull request. This will kick off the Atlantis workflow. Within a minute or so, a comment will appear on the pull request that shows the Terraform plan with the changes it will be making to your infrastructure.
New plans can be requested on demand by commenting atlantis plan on your pull request.

To apply these changes, you or someone in the organization can submit a comment on that pull request with the following text: atlantis apply. Doing so will instruct Atlantis to apply the plan. It will report back with the results within a minute or so.
Atlantis merges your Pull Request automatically once an apply is successfully executed. Don't merge Terraform pull requests yourself. Atlantis will always run plans automatically for you when a pull request is opened that changes files mapped in
atlantis.yaml.
Any new users you have created through this process will have their temporary initial passwords stored in your local HashiCorp Vault cluster. You can also access Vault using the information provided to you in the terminal: you will find your users' individual initial passwords in the Vault secret store /secrets/users/<username>.
Once you've provided them their initial password, they can update it throughout the platform by modifying their user password entity in Vault. Anyone can change their own password, and admins can reset anyone's password. These rules, just like everything else on kubefirst, can be configured in your new gitops repository.

The existence of a new user with your specified parameters demonstrates that you have successfully updated your users using Atlantis!
Troubleshooting Atlantis
The free ngrok tunnel used for kubefirst local has a 2-hour expiration by default. In order to prevent this expiration from interfering with automated Atlantis executions, we have added an auto-rotating ngrok tunnel CronJob to the Atlantis namespace. The job will rotate the ngrok tunnel automatically register the new ngrok URL with your Atlantis secrets in Vault and your gitopsrepository webhook.
Atlantis works by sending a webhooks to Atlantis from your gitops repository. If you're not receiving Terraform plan comments, check the webhooks section of your gitops repository settings and review the responses from the sent webhook requests.
In this tutorial we will show how to add users to your local cluster through Atlantis, which will allow a preview of how changes made will be expressed through Terraform before branches are merged into your repository.
Navigate to the gitops repository in your personal GitLab account, clone the contents, and create a new branch:
cd gitops
git checkout -b new-user
The file terraform/users/admins/admin-one.tf contains a block that represents a new admin user:
module "admin_one" {
  source = "../modules/user"

  acl_policies            = ["admin"]
  email                   = "[email protected]"
  first_name              = "Admin"
  fullname                = "Admin One"
  group_id                = data.vault_identity_group.admins.group_id
  gitlab_username         = "your-admins-gitlab-username"
  last_name               = "One"
  username                = "aone"
  user_disabled           = false
  userpass_accessor       = data.vault_auth_backend.userpass.accessor
}
Uncomment and edit this code to replace the values for the email, first_name, github_username, last_name, full_name and username.
Then navigate to the file terraform/users/admins/admin-one.tf. You should see one line of code commented with the admin_one user, please uncomment this line to look as follows:
# every admin that is added to the platform will need to have their ID
# added to this list so that its client id is added to the group in Vault
output "vault_identity_entity_ids" {
  value = [
    module.kbot.vault_identity_entity_id,
    module.admin_one.vault_identity_entity_id, # <- this line used to be commented
  ]
}
Now let's commit and push your change
git add .
git commit -m feat: add new user
git push --set-upstream origin new-user
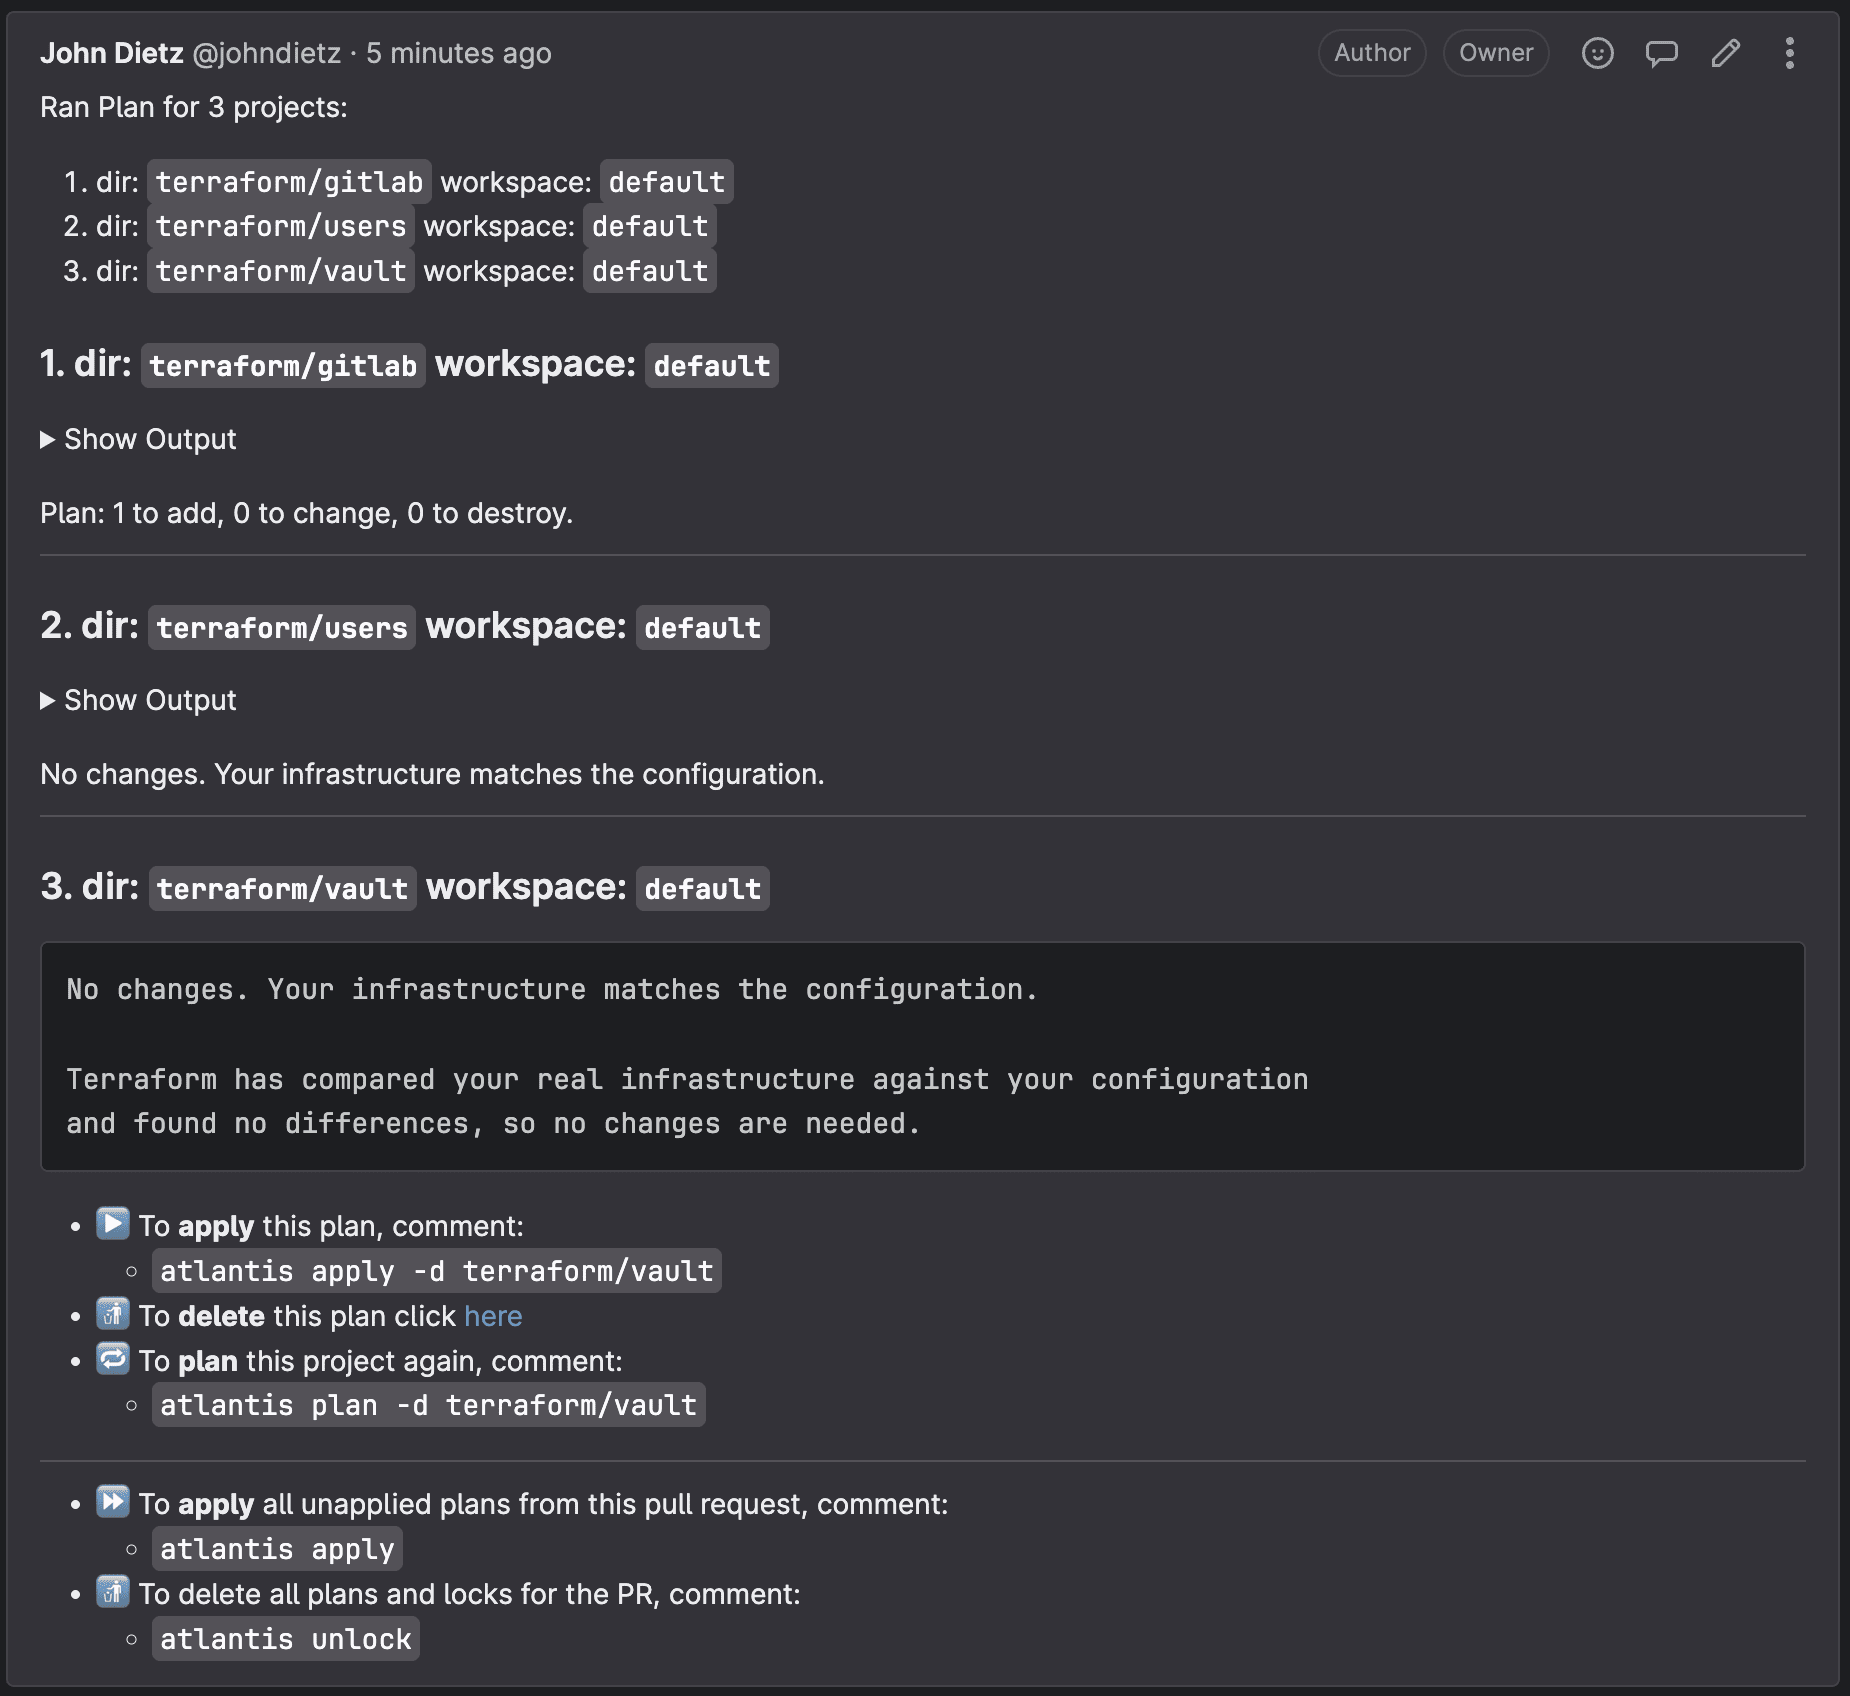
Now, create a merge request. This will kick off the Atlantis workflow. Within a minute or so, a comment will appear on the merge request that shows the Terraform plan with the changes it will be making to your infrastructure.
New plans can be requested on demand by commenting atlantis plan on your merge request.

To apply these changes, you or someone in the organization can submit a comment on that merge request with the following text: atlantis apply. Doing so will instruct Atlantis to apply the plan. It will report back with the results within a minute or so.
Atlantis merges your merge request automatically once an apply is successfully executed. Don't merge Terraform merge requests yourself. Atlantis will always run plans automatically for you when a merge request is opened that changes files mapped in
atlantis.yaml.
Any new users you have created through this process will have their temporary initial passwords stored in your local HashiCorp Vault cluster. You can also access Vault using the information provided to you in the terminal: you will find your users' individual initial passwords in the Vault secret store /secrets/users/<username>.
Once you've provided them their initial password, they can update it throughout the platform by modifying their user password entity in Vault. Anyone can change their own password, and admins can reset anyone's password. These rules, just like everything else on kubefirst, can be configured in your new gitops repository.

The existence of a new user with your specified parameters demonstrates that you have successfully updated your users using Atlantis!
Troubleshooting Atlantis
The free ngrok tunnel used for kubefirst local has a 2-hour expiration by default. In order to prevent this expiration from interfering with automated Atlantis executions, we have added an auto-rotating ngrok tunnel CronJob to the Atlantis namespace. The job will rotate the ngrok tunnel automatically register the new ngrok URL with your Atlantis secrets in Vault and your gitops repository webhook.
Atlantis works by sending a webhooks to Atlantis from your gitops repository. If you're not receiving Terraform plan comments, check the webhooks section of your gitops repository settings and review the responses from the sent webhook requests.
 Please change your Homebrew tap by running