GitHub
GitLab
AWS Platform Installation using GitHub
kubefirst is the name of our command line tool that installs the kubefirst platform and provides some platform conveniences.
It installs a fully automated platform of open source cloud native tools with a simple init and create command.
Prerequisites
Install the kubefirst CLI.
AWS Prerequisites
- Create an AWS account with billing enabled.
- Establish a public hosted zone with DNS routing established (docs).
- Connect with Administrator Access IAM credentials to your AWS account (docs).
- Our Homebrew package will automatically install the AWS IAM Authenticator dependency. If you use another installation method, you will need to install this utility.
Step 1 - Create your kbot user and a personal access token
The kubefirst CLI will automatically create one admin user for you named kbot. After the installation, you will temporarily use that kbot account to onboard yourself and the rest your team to the platform. From that point forward, the kbot user should only be used for automated activities, and you should use your own personal account for everything else.
The kbot user needs to be associated with a GitHub user account that can be used as your organization's bot account. Log out of GitHub and create a new GitHub account to represent this new kbot account. Because this account will be used for automation, it's good to choose a username that generically represents your company or your project name - something like yourcompany-kbot. You can also have fun with it and give your bot a fun name - the point is that this is not an account for your long term personal use, it's for the kubefirst platform system to use.
Your new kbot account will need to be associated with a GitHub organization.
- If you don't already have one that you want to use, while logged into GitHub with your new
kbotaccount, establish a new GitHub organization. - If you do already have a GitHub organization that you want to add kubefirst to, you'll need to add your new kubefirst bot as an owner to the existing organization.
GitHub ephemeral authorization during install
If you don't export a GITHUB_TOKEN to your shell, the kubefirst CLI can generate an ephemeral token that last 8 hours.If you don't export a GITHUB_TOKEN to your shell, the kubefirst CLI can generate an ephemeral token that last 8 hours.
Step 2 - Create your platform
export GITHUB_TOKEN=ghp_xxxxxxxxxxxxxxx

kubefirst aws create \
  --alerts-email [email protected] \
  --domain-name your-company.io \
  --cluster-name kubefirst-mgmt \
  --github-org your-github-organization-name
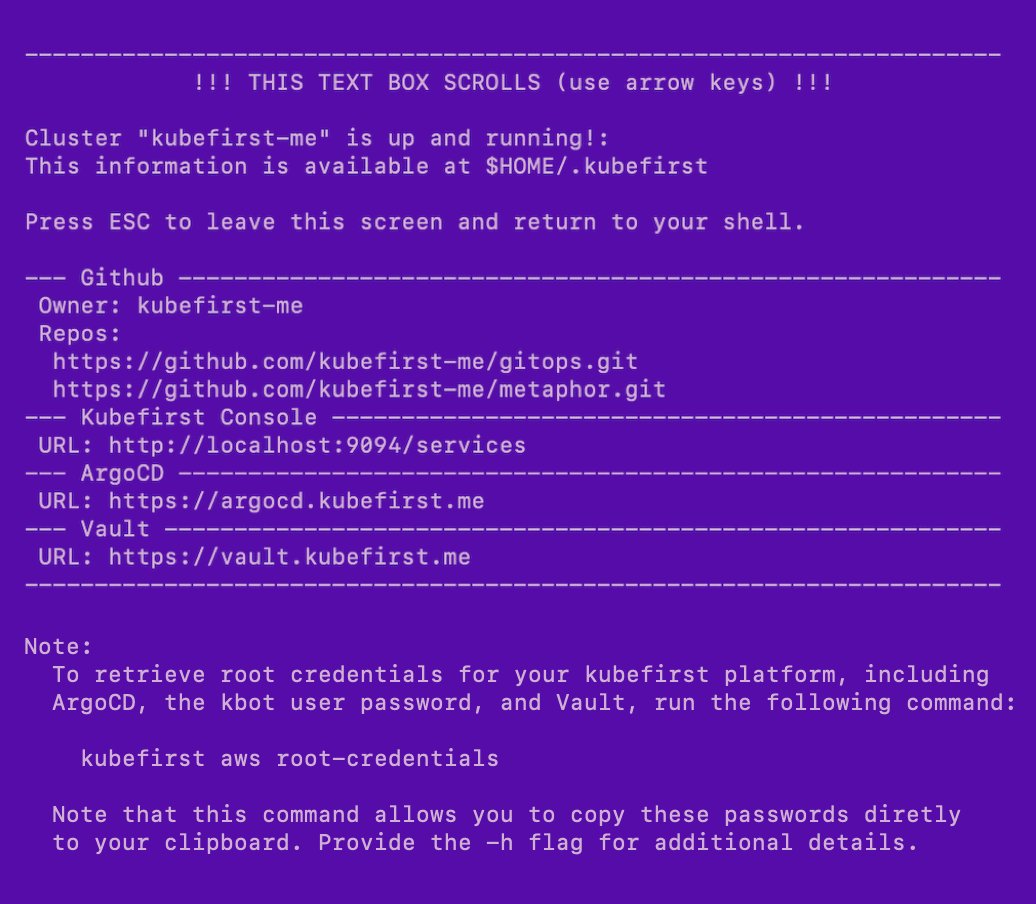
Example of terminal output following cluster creation

Root credentials
To obtain your 3 initial passwords, run
kubefirst aws root-credentials
Connecting to Kubernetes
Replace kubefirst in the command below with your cluster's name if you specified one
aws eks update-kubeconfig --name kubefirst
To view all cluster pods run
kubectl get pods -A
AWS Platform Installation using GitLab
kubefirst is the name of our command line tool that installs the kubefirst platform and provides some platform conveniences.
It installs a fully automated platform of open source cloud native tools with a simple init and create command.
Prerequisites
- Install the kubefirst CLI.
GitLab
- Create or use an existing GitLab account.
- Create a GitLab group developer permissions.
GitLab SaaS offering has limitations that require us to use groups contrary to GitHub which can be use without an organization.
AWS
- Create an AWS account with billing enabled.
- Establish a public hosted zone with DNS routing established(docs).
- Connect with Administrator Access IAM credentials to your AWS account (docs).
- Our Homebrew package will automatically install the AWS IAM Authenticator dependency. If you use another installation method, you will need to install this utility.
Step 1 - Create your kbot user and a personal access token
The kubefirst CLI will automatically create one admin user for you named kbot. After the installation, you will temporarily use that kbot account to onboard yourself and the rest your team to the platform. From that point forward, the kbot should only be used for automated activities, and you should use your own personal account.
The kbot user needs to be associated with a GitLab user account that can be used as your organization's bot account. Log out of GitLab and create a new GitLab account to represent this new kbot account. Because this account will be used for automation, it's a good to choose a username that generically represents your company or project name. You can also have fun with it and give your bot a fun name - the point is that this is not an account for your long term personal use, it's for the kubefirst platform system to use.
Your new kbot account will need to be associated with a GitLab organization.
- If you don't already have one that you want to use, while logged into GitLab with your new
kbotaccount, establish a new GitLab organization. - If you do already have a GitLab org that you want to add kubefirst to, you'll need to add your new kubefirst bot as an owner to the existing organization now.
Step 2 - Create your platform
kubefirst aws create \
  --alerts-email [email protected] \
  --git-provider gitlab \
  --gitlab-group your-fully-qualified-gitlab-group/or-sub-group  \
  --domain-name your-domain.io \
  --cluster-name kubefirst
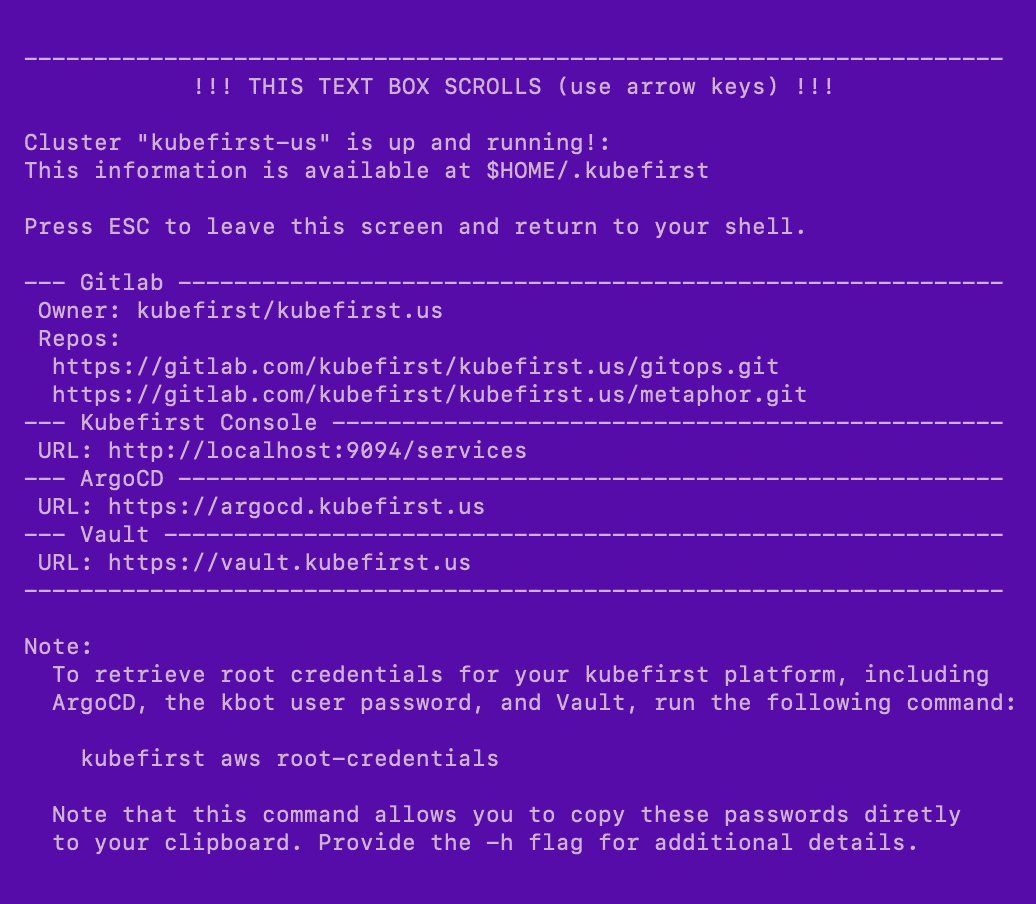
Example of terminal output following cluster creation

Root credentials
To obtain your 3 initial passwords, run
kubefirst aws root-credentials
Connecting to Kubernetes
Replace kubefirst in the command below with your cluster's name if you specified one
aws eks update-kubeconfig --name kubefirst
To view all cluster pods run
kubectl get pods -A
 Please change your Homebrew tap by running