GitHub
GitLab
GitHub Prerequisites
- A GitHub organisation.
- A new GitHub account for your
kbotautomation user. - A GitHub personal access token for your
kbotaccount.
Prerequisites
Local Prerequisites
If you are on macOS, and have Homebrew installed, you can run:
brew install konstructio/taps/kubefirst
To upgrade an existing kubefirst CLI to the latest version run:
brew update
brew upgrade kubefirst
There are other ways to install kubefirst for different operating systems, architectures, and containerized environments. See our installation README for details.
DigitalOcean Prerequisites
For kubefirst to be able to provision your DigitalOcean cloud resources:
- A DigitalOcean account in which you are an account owner.
- A publicly routable DNS.
- A DigitalOcean API personal access token.
- A DigitalOcean Spaces access key & its secret.
Create your new kubefirst cluster
Adjust the following command with your GitHub and DigitalOcean key in addition to the appropriate values for your new platform.
export GITHUB_TOKEN=ghp_xxxxxxxxxxxxxxxx
export DO_TOKEN=xxxxxxxxxxxxxxxxxxxxxxxxxxxxxxxxxxxx
export DO_SPACES_KEY=xxxxxxxxxxxxxxxxxxxxxxxxxxxxxxxxxxxx
export DO_SPACES_SECRET=xxxxxxxxxxxxxxxxxxxxxxxxxxxxxxxxxxxx

kubefirst beta digitalocean create \
  --alerts-email [email protected] \
  --github-org your-github-org \
  --domain-name your-domain.io \
  --cluster-name kubefirst
By default kubefirst use the cloud providers to manage DNS. You also have the option to use Cloudflare.
To do so, add the dnsProvider flag with the value cloudflare to your create command --dns-provider cloudflare.
You also need to set the CF_API_TOKEN environment variable with a Cloudflare token (export CF_API_TOKEN=xxxxxxxxx) having the Zone.Zone, and Zone.DNS edit permission. More information on Cloudflare token creation in their documentation.
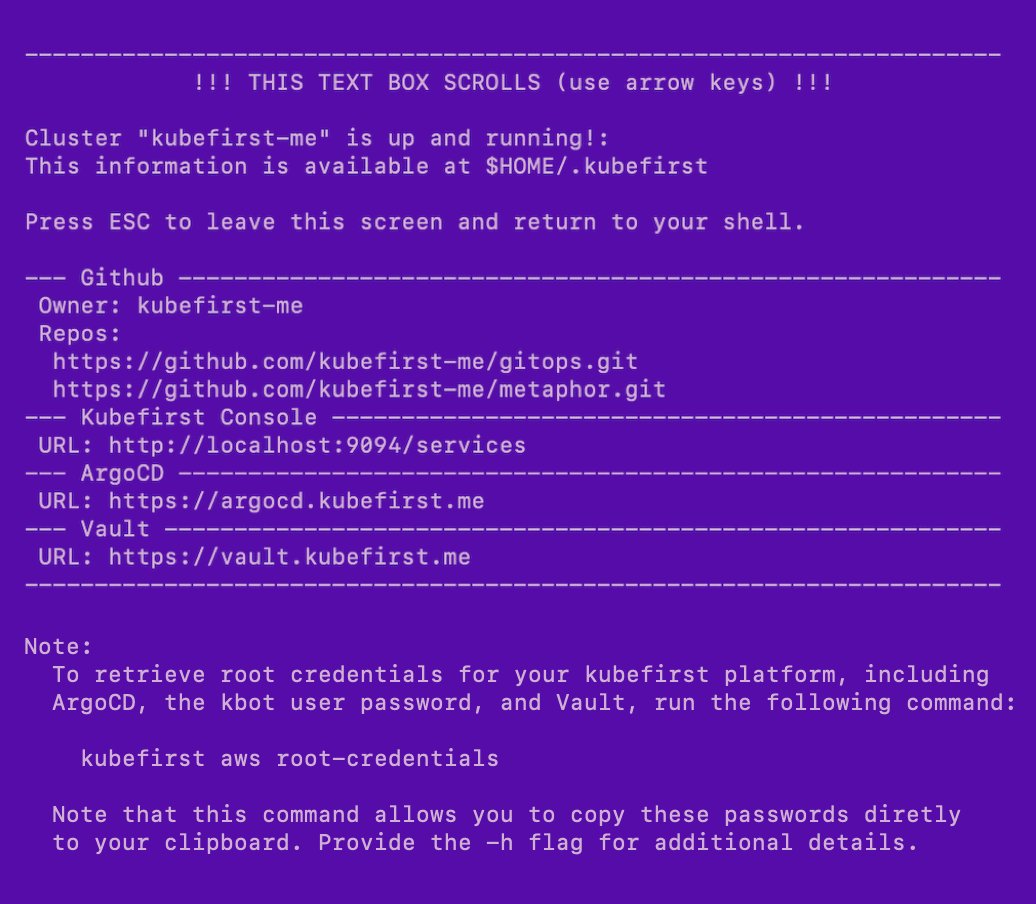
Example of terminal output following cluster creation

Root credentials
To obtain your 3 initial passwords, run
kubefirst beta vultr root-credentials
Connecting to Kubernetes
To connect to your new Kubernetes cluster, run
export KUBECONFIG=~/.k1/kubeconfig
To view all cluster pods, run
kubectl get pods -A
GitLab
- Create or use an existing GitLab account.
- Create a GitLab group developer permissions.
- A GitLab personal access token for your
kbotaccount.
Prerequisites
Local Prerequisites
If you are on macOS, and have Homebrew installed, you can run:
brew install konstructio/taps/kubefirst
To upgrade an existing kubefirst CLI to the latest version run:
brew update
brew upgrade kubefirst
There are other ways to install kubefirst for different operating systems, architectures, and containerized environments. See our installation README for details.
DigitalOcean Prerequisites
For kubefirst to be able to provision your DigitalOcean cloud resources:
- A DigitalOcean account in which you are an account owner.
- A publicly routable DNS.
- A DigitalOcean API personal access token.
- A DigitalOcean Spaces access key & its secret.
Create your new kubefirst cluster
Adjust the following command with your GitHub and DigitalOcean tokens in addition to the appropriate values for your new platform.
export GITLAB_TOKEN=glpat-xxxxxxxxxxxxxxxx
export DO_TOKEN=xxxxxxxxxxxxxxxxxxxxxxxxxxxxxxxxxxxx
export DO_SPACES_KEY=xxxxxxxxxxxxxxxxxxxxxxxxxxxxxxxxxxxx
export DO_SPACES_SECRET=xxxxxxxxxxxxxxxxxxxxxxxxxxxxxxxxxxxx

kubefirst beta digitalocean create \
  --alerts-email [email protected] \
  --git-provider gitlab \
  --gitlab-group your-fully-qualified-gitlab-group/or-sub-group  \
  --domain-name your-domain.io \
  --cluster-name kubefirst
By default kubefirst use the cloud providers to manage DNS. You also have the option to use Cloudflare.
To do so, add the dnsProvider flag with the value cloudflare to your create command --dns-provider cloudflare.
You also need to set the CF_API_TOKEN environment variable with a Cloudflare token (export CF_API_TOKEN=xxxxxxxxx) having the Zone.Zone, and Zone.DNS edit permission. More information on Cloudflare token creation in their documentation.
Example of terminal output following cluster creation

Root credentials
To obtain your 3 initial passwords, run
kubefirst beta vultr root-credentials
Connecting to Kubernetes
To connect to your new Kubernetes cluster, run
export KUBECONFIG=~/.k1/kubeconfig
To view all cluster pods, run
kubectl get pods -A
 Please change your Homebrew tap by running